

- About Product
- Specifications
- Reviews/Questions
- Availability
- Video
- Similar Products
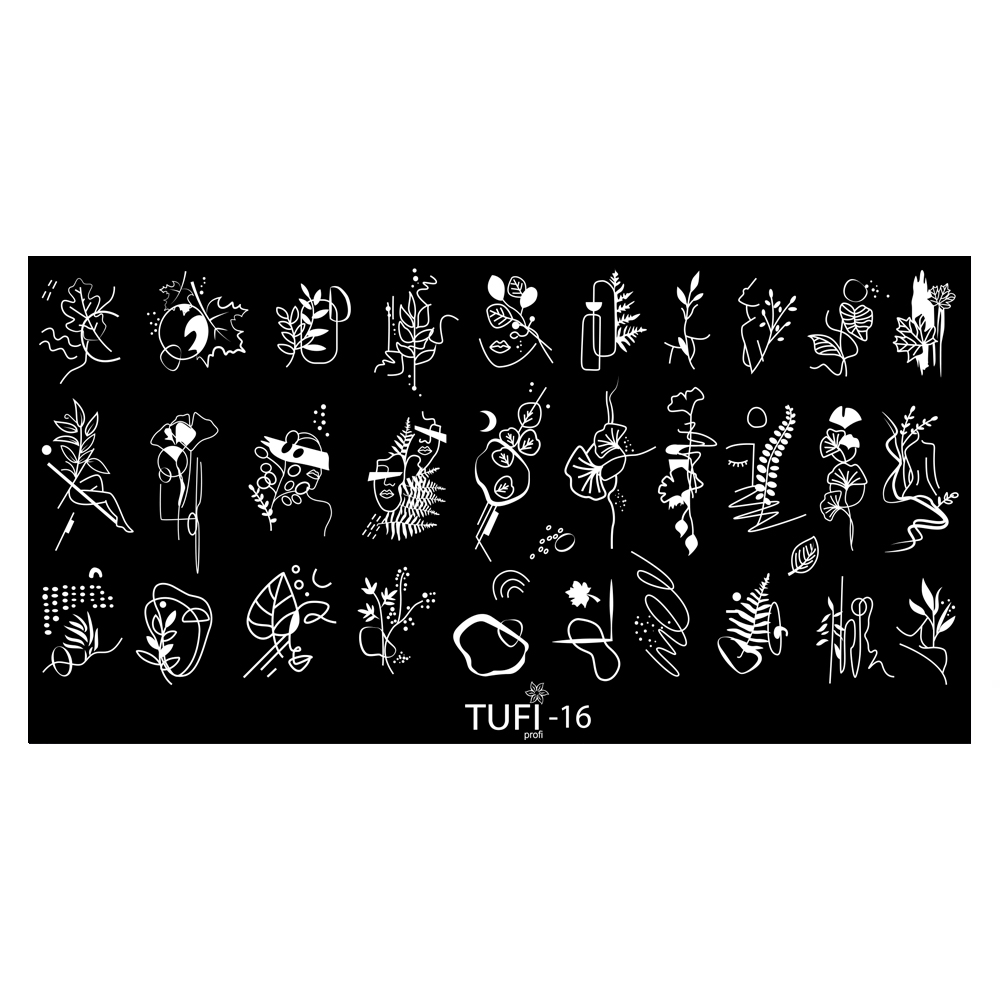
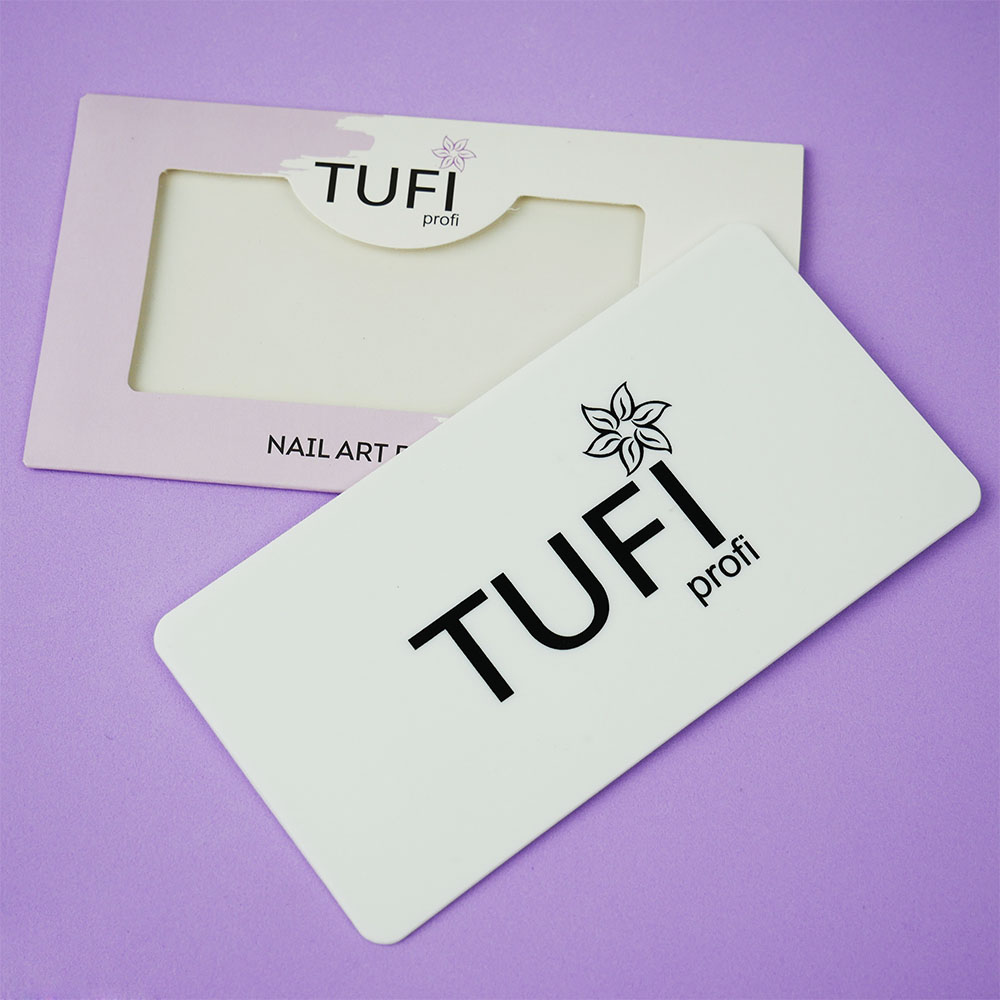
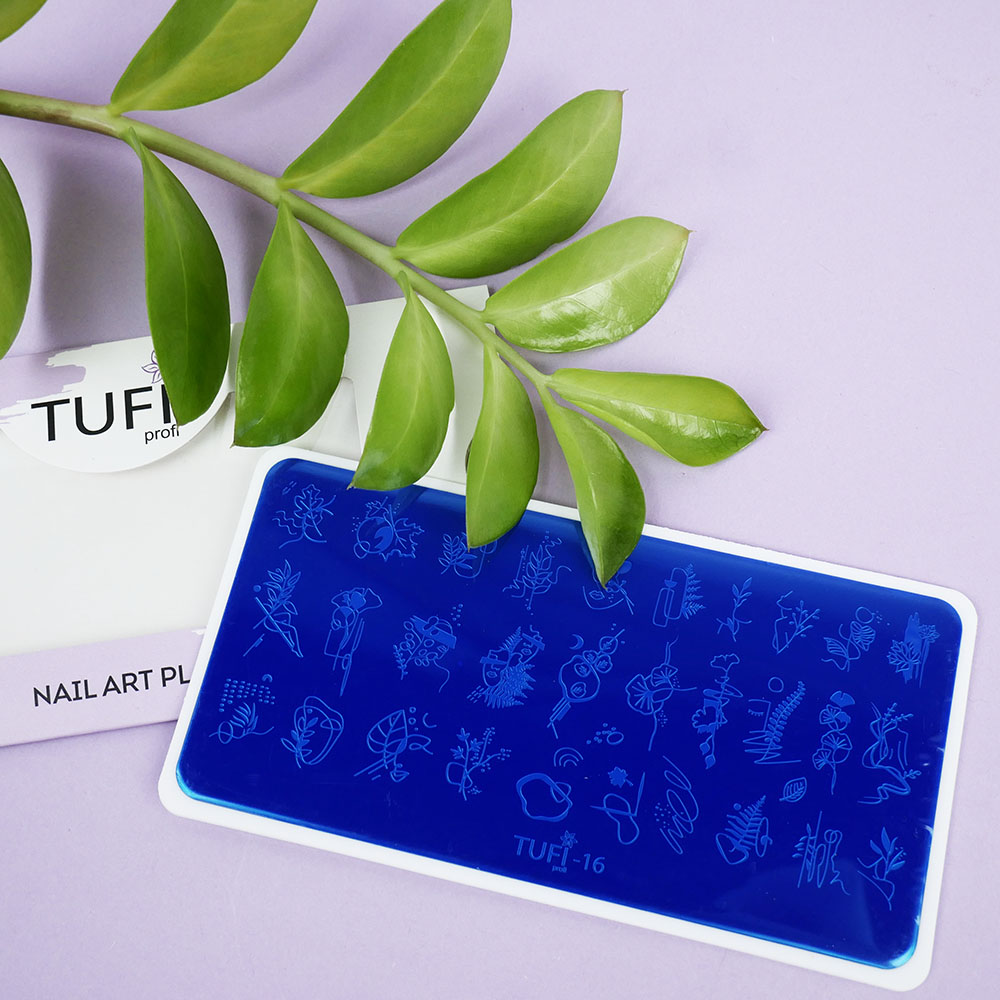
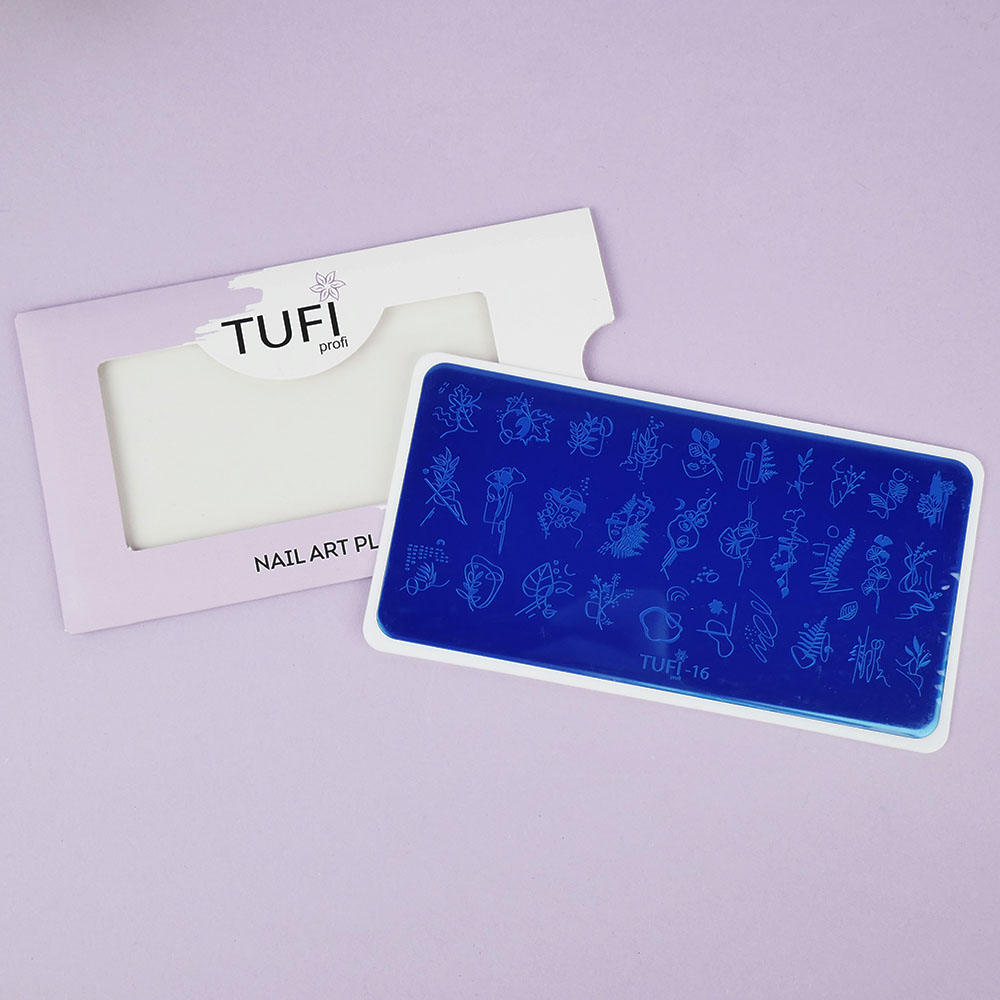
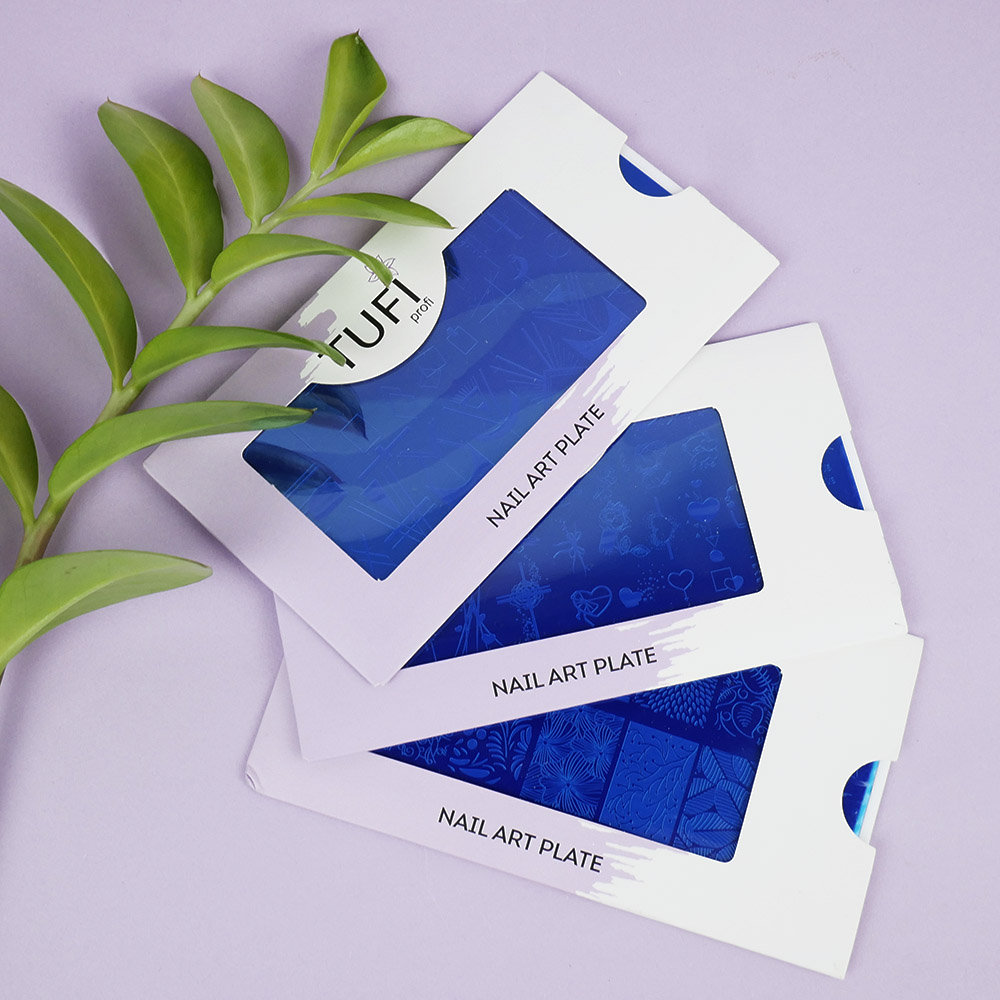


Plate for stamping TUFI profi PREMIUM №16 (0123367)
0123367
115 uah70% 35 uah6 uah cashback
Payment Methods


What to do if you want some unusual design on your nails? You can diversify your manicure with juicy and dazzling designs using various technologies in nail design. One of the simplest for everyone is stamping. This is a method of drawing a picture on the nails with the help of varnish, a stamp and a stencil. TUFI profi presents a new product in the premium collection - the TUFI profi Premium stamping plate. This stencil for stamping is used not only in beauty salons, but also at home. With its help, you can easily make a unique and original design on your nails.
Characteristics
| Size | 12х6 сm |
| Purpose | for stamping |
| Material | metal |
| Manufacturer | TUFI profi |
Application
1. Apply nail polish, gel polish or nail extensions. If you are stamping on a natural nail, be sure to apply a degreaser.
2. Take a stencil and a stamp for stamping. Wipe them down with nail polish remover to clean the surfaces.
3. Apply an even layer of stamping polish to the selected area of the plate.
4. With an inclination of 45 degrees, use a scraper to quickly remove excess varnish.
5. Transfer the drawing from the stencil to the stamp and immediately make an impression on the nail. Unnecessary elements should be removed with the help of cotton wool soaked in the solution. Allow the design to dry.
6. If necessary, wipe the tools and repeat the procedure as many times as necessary.
7. The final stage is the application of the top. Its task is to fix the coating and give shine to the nails. Dry in a gel polish drying lamp. Remove the sticky layer using a special liquid. Cover the usual varnish with a transparent varnish to fix the pattern.
AVAILABILITY IN STORES
Choose City
м. Київ, ул. Старокиївська,9
5+ pcs. In Stock!
м. Київ, пр-т Петра Григоренка, 22/20
4 pcs. In Stock!
Kiev, Victory Avenue 20
3 pcs. In Stock!
Kiev, Kharkov highway 2
2 pcs. In Stock!
Dnipro, st. Dmitry Yavornitsky (Karl Marx), 46
Out of Stock
")


REVIEWS AND QUESTIONS
Leave your review about this product